
Support Index
Insert Table
To insert a table in the page content:
- Insert your cursor in the area you wish your table to appear
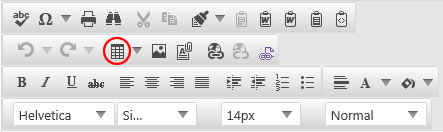
- Click
 in the Content Editor Toolbar
 - Highlight the number of rows and columns you desire in the graph field of the drop-down, or select Table Wizard.
- Using the Table Wizard, the number of columns and rows in the table can be adjusted using the plus and minus keys within the Table Design tab
- Within the Table Wizard, additional modifications to the layout and appearance of the table can be made, including modifications to the background, the border size, the border color, the size of the table, the alignment of the table on the page, and the alignment of content within the table cells.
- Click OK
- Insert your cursor in the table cell you wish to modify and work within the table cell as you would outside the table in the content editor. Text, images, links and additional tables can be inserted into table cell contents.
Note: By clicking with the right mouse button on any portion of a table, you can access the Table Wizard by selecting Set Table Properties from the menu.